From tousled at the beach to gem-studded for your Christmas do, glossy mermaid waves add magic to any occasion. But did you know they’re also surprisingly easy to create at home?
These soft, eye-catching waves can be styled in minutes with hair tools, or formed overnight with simple braids. And they’re not just for long-haired sirens - anyone can rock this look.
Put down the salt spray, here’s how to get the luxurious mermaid waves of your dreams!
What are mermaid waves?
Mermaid waves are a popular hairstyle, characterised by loose but defined curls. The shiny, S-shaped waves often start from higher near the scalp, cascading down over the shoulders.
Although beach-inspired, mermaid waves feel polished, romantic and effortlessly glamorous. They first got big on TikTok in the 2020s, inspired by nostalgia for the 2000s and Y2K fashion (without reaching for the crimpers). Did we mention they make you look like a mermaid?!
Mermaid waves vs beach waves vs crimping
Mermaid waves, beach waves, and crimping have similarities, but very different vibes. Beach waves are often casual and tousled with a matte finish, while mermaid waves are soft, flowing, and shiny. Crimped hair is bold, structured, adding a zig-zag pattern with a specific heat tool.
|
Mermaid Waves 🌊 |
Beach Waves 🏖️ |
Crimped Hair ⚡ |
|
| Look | Soft, flowing, glossy | Tousled, textured, airy | Tight, zig-zag texture |
| Finish | Smooth and shiny | Matte and salt-slicked | Structure and rigid |
| Tools | Curling wand, straightener, waver | Curling want, salt spray, diffuser | Crimping iron |
| Vibe | Ethereal, romantic | Carefree, beachy | Bold, retro |
If you’re after a casual beach waves look, check out our blog on how to create beach waves with a straightener, for some advice on this style. Otherwise, read on for our mermaid tips.
Styler & heatless methods
There’s no one way to create mermaid waves, which is part of their magic. Whether you want an ultra-polished finish from hot tools, or a more natural look from overnight braids, there’s a method to suit your hair type, time, and budget. Try these methods until you find your fave.
Mermaid waves with a curling wand
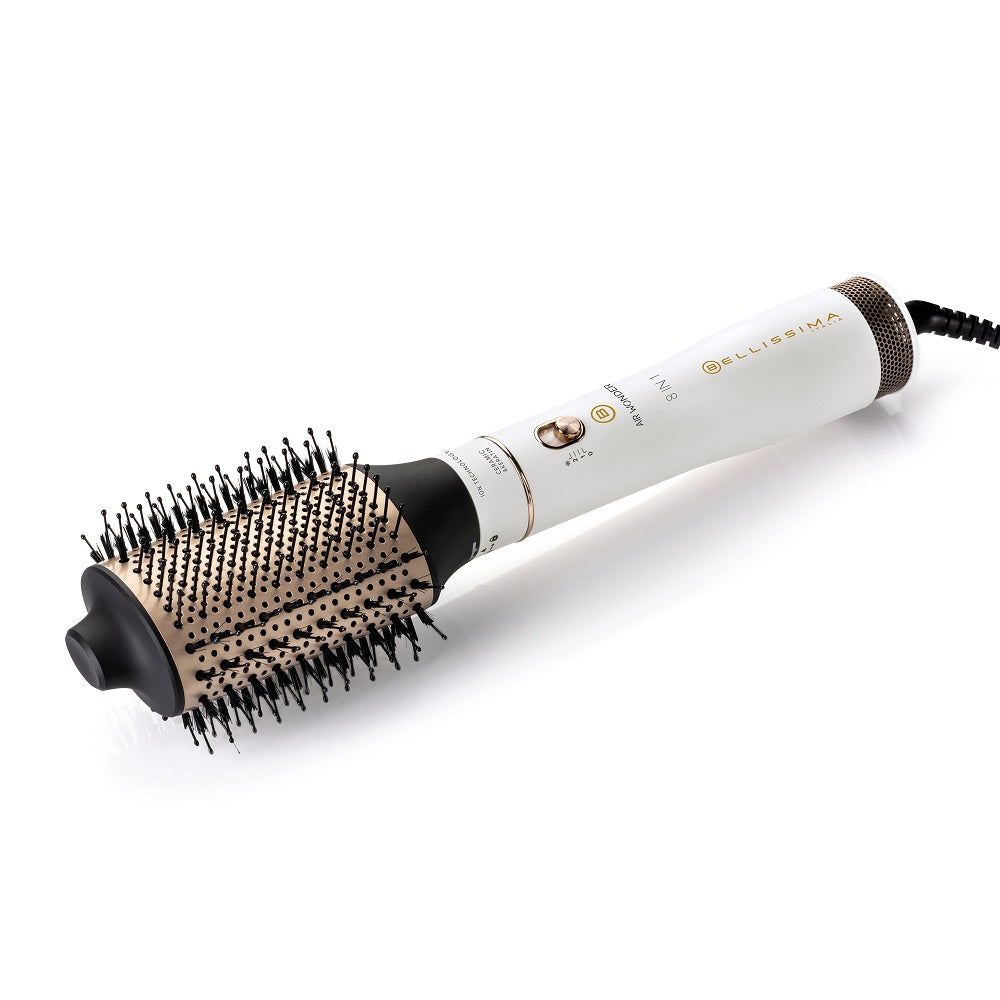
For long-lasting curls with plenty of definition, a curling wand gives a glamorous finish. If you don’t have a curling wand, a curling tong or a hot brush tool could achieve a similar effect.
Step-by-Step:
1. Prepare: Add styling or heat protectant spray to clean, dry and brushed hair.
2. Section: Section your hair, clipping top sections and working from the bottom.
3. Curl: Wrap 1-2 inch sections around the wand, pointing the wand downwards.
4. Hold: Hold for several seconds to lock in the curl, and then release and cup it gently.
5. Repeat: Continue all around your head, alternating the direction of the curl.
6. Finish: Finger-comb the curls to keep them looking loose and natural-looking.
Mermaid waves with a straightener
If you don’t have a wave or curling tool, it’s possible to create mermaid-like waves using a slim hair straightener. Check out our blog on curling hair with straighteners for some pro tips.
This method takes a little more time and practice, but it is worth the experimentation!
Step-by-Step:
1. Prepare: Add styling or heat protectant spray to clean, dry and brushed hair.
2. Section: Section your hair, clipping top sections and working from the bottom.
3. Twist: Clamp a 1-inch section, and twist the straightener 180 degrees from your face.
4. Glide: Move the straightener down from the root to the end, twisting as you go.
5. Repeat: Continue all around your head, alternating the direction of the curl.
6. Finish: Finger-comb the curls to keep them looking loose and natural-looking.

Mermaid waves with a beach wave tool
Mermaids love an easy life, and using a beach wave tool is as carefree as they come. Simply use the tool as you would use a crimper, creating uniform S-shaped waves in no time at all.
Use the ‘over and under’ method when clamping to help your waves look more natural.
Step-by-Step:
1. Prepare: Add styling or heat protectant spray to clean, dry and brushed hair.
2. Section: Section your hair, clipping top sections and working from the bottom.
3. Clamp: Clamp from root to tip, overlapping where needed for seamless waves.
4. Repeat: Move around your head until all sections and layers are in S-waves.
5. Finish: Finger-comb the curls to keep them looking loose and natural-looking.
Mermaid waves with heatless overnight braids
If your hair’s been heat damaged, or you have just forgotten your hair tools, you can create this look with heatless methods. Do just before bed and wake up with gorgeous, subtle curls.
Step-by-Step:
1. Prepare: Apply your favourite curly girl cream to damp, freshly-washed hair.
2. Section: Divide your hair up into multiple sections (more will make tighter waves).
3. Braid: Tightly braid or plait each hair section, securing with soft ties at the ends.
4. Sleep: Protect braids with a turban or silk pillow, and wake to release your curls.
5. Finish: Finger-comb the curls to keep them looking loose and natural-looking.
Now you know the techniques, here are some tips for making mermaid waves work with your hair length and type. Remember, they’re not just for long hair - short waves look great too!
Different hair lengths & types
How your mermaid waves turn out can depend on your hair length and texture. Long hair will show off flowing, dramatic waves, while a shorter look will look playful and modern. Think about the products you use and the heat setting, to help make the most of your hair type.
Mermaid waves for long hair
Mermaid waves are a classic, nostalgic look on long hair. Crimp or braid larger sections of hair for looser and more casual waves, or smaller curls for a more structured and defined look.
Give yourself plenty of time to do your whole head, and stay in control with setting spray.
Mermaid waves for mid to short hair
If your hair is short, it can help to use smaller sections and a slimmer heat tool. Start lower down your hair shaft, to avoid the style looking too ‘poofy’ and overwhelming your head!
Keep things fun and textured rather than uniform, or the style might look unnatural. Check out our blog on styling short and wavy hair for inspiration on short mermaid wave styles.
Mermaid waves for thick hair
Thick hair holds mermaid waves beautifully, but styling them can be time-consuming. Work in layers, use lightweight products for control, and finish with hairspray to keep the style longer.
If your hair’s thin or fragile, use a lower heat setting and small sections to create volume.
How to finish your mermaid waves
Mermaid waves look glossy and ethereal straight after styling – but how do you make sure they last? Here’s how to finish your mermaid waves so they keep their magic all night.
Step-by-Step:
1. Cool Down: After heat tools, always let the waves cool before touching them.
2. Gently Loosen: With your fingers (never a brush, which can make them frizz).
3. Want Shine? Use a lightweight spray or hair oil for a glossy and luxurious look.
4. Want Control? If your curls have a mind of their own, use hairspray to lock them.
5. Want Texture? For a more casual, beachy finish, you can add salt spray instead.
6. Want Volume? Hair not big enough, really?! Tease the crown for extra oomph.
Thick hair might not need as much product, while thin hair might love a little volume spray.
If you want to add extra sparkle, hair gems or clips can add to the dreamy, mermaid vibe. Have a look at these hairstyles for special occasions for other party-ready hair trends.
FAQs
How to get mermaid waves to hold?
To keep mermaid waves in place, always start with clean, dry hair and apply a heat protectant with hold (like mousse or styling spray). After curling or using hair tools, let each section cool before touching. Finish with a flexible hairspray to help lock in the waves without stiffness.
How to get mermaid waves with a straightener?
You can create mermaid waves with a straightener by clamping small sections of hair and firmly bending the straightener back and forth in an S-shape as you move down the strand. This method is great if you don’t own a wave tool or want a quicker (but trickier) option.
How to do mermaid waves naturally?
The easiest, heatless way to do mermaid waves is to braid damp hair into two or more plaits before bed. In the morning, undo the braids, run your fingers through the waves, and add a little serum for shine. This is the gentlest method and perfect if you want to avoid using heat.


