Whilst there are many hairstyling tools out there, sometimes you just want one tool that can do it all.
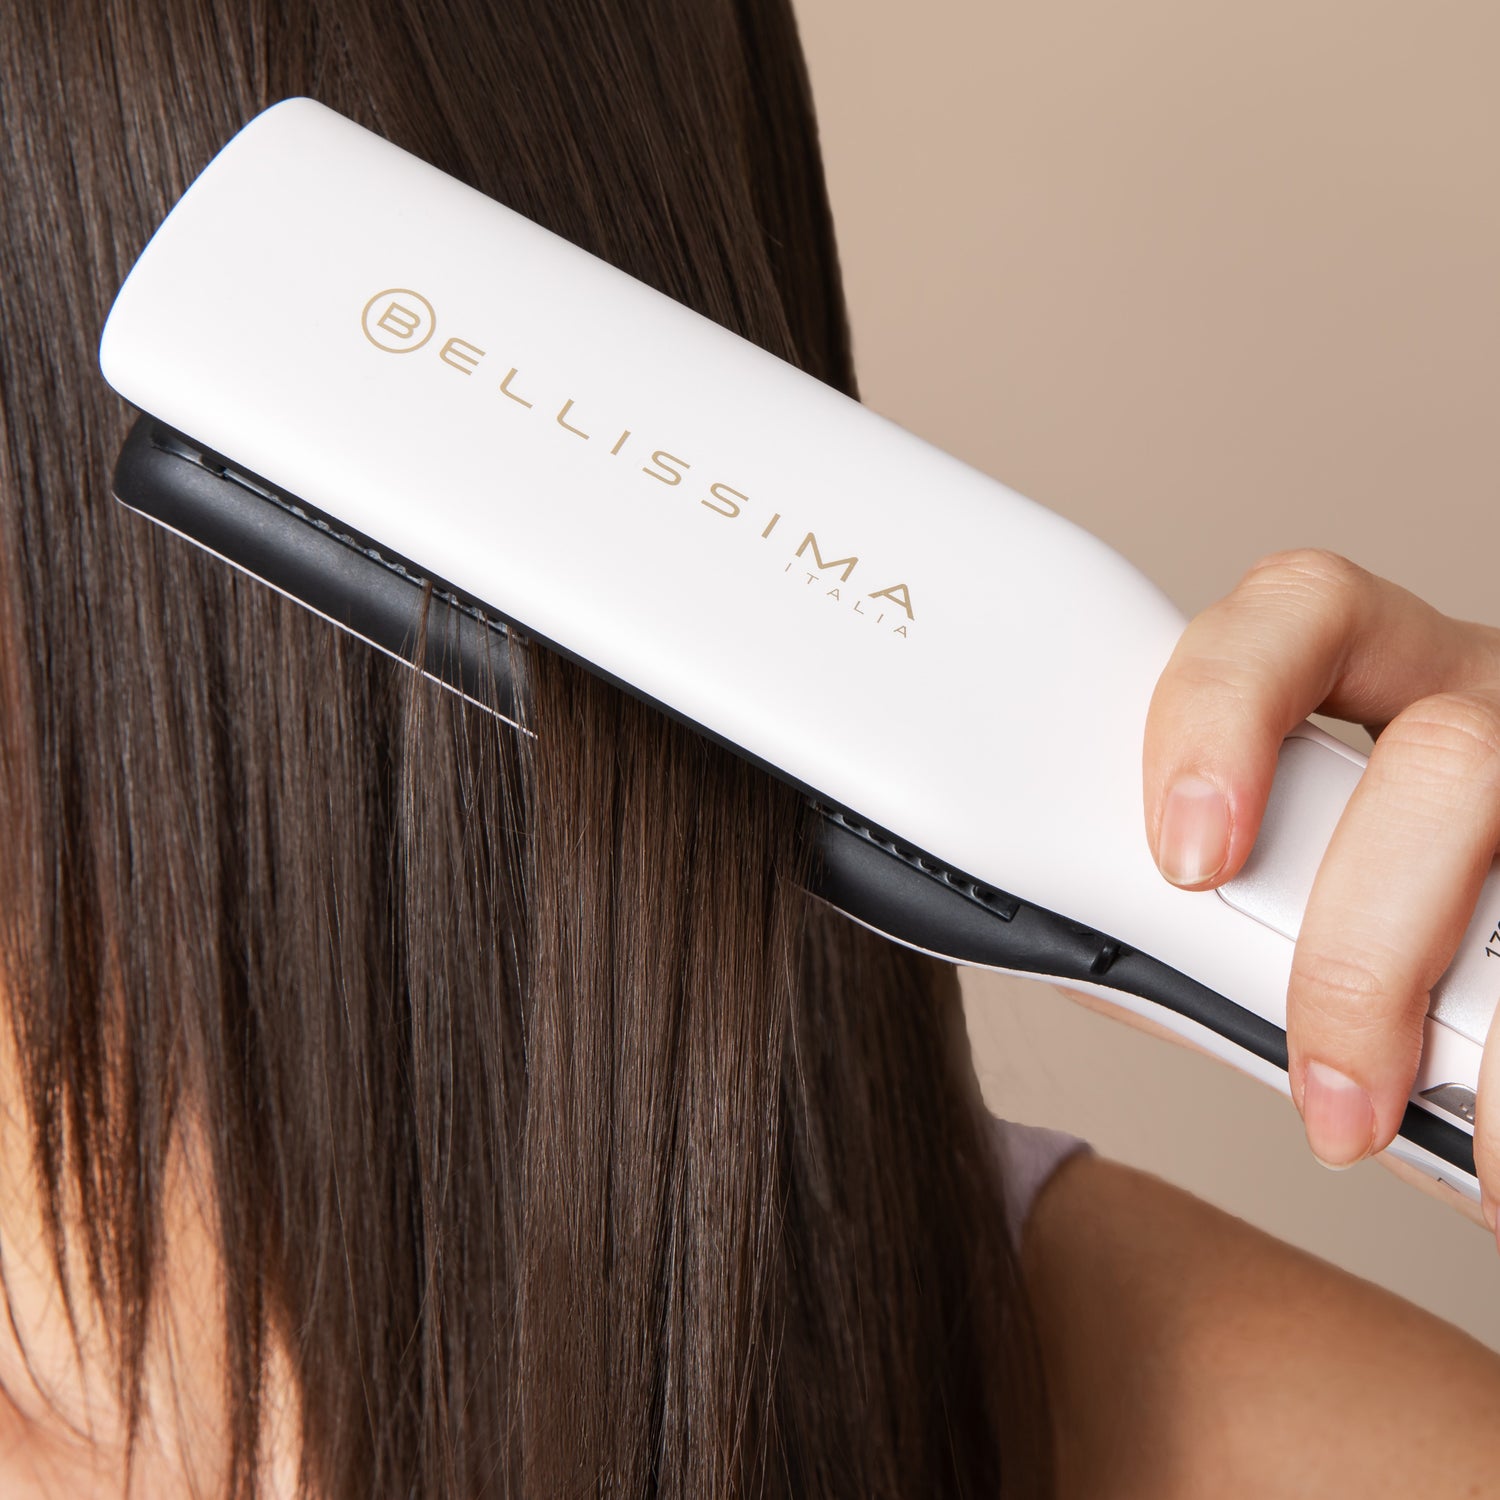
Hair straighteners can do so much more than straighten hair. They can add texture, curls, crimps and so much more. In today’s guide, Bellissima Italia will show you how to curl your hair with straighteners.
Can you curl hair with a flat iron straightener?

What styles can you make with straighteners?
When using your straighteners to curl your hair, one of the first things you will need to do is pick the style you are going for.
From the size of the curl, to how long your waves are, your hair can be stylised to your preferred look with ease. Find the perfect hairstyle with Bellissima Italia today.

Beach Waves
Prepare your hairA longstanding style when it comes to curling your hair, beach waves are used by countless celebrities all year round. Flattering for all face shapes and ages, beach waves leave you with natural-looking, relaxed curls that carry a simple texture.
The name comes from the idea of using salty sea air to make hair thicker and bouncy. Luckily for everyone else, this style can be achieved with a hair straightener and some patience.
Section your hairThe first thing you should do is treat your hair correctly. This includes washing, drying and treating your hair with a heat protectant before applying any type of heat. After this has been done, you can then separate your hair into sections. This can be made easier by using clips to keep hair out of your way.
After your hair has been separated, you can start with a single section, be sure to check that all of your sections are about 1 inch wide, if you want more defined waves, make the sections smaller. Larger sections will create looser waves.
Curling
Begin by placing your straightener in the middle or top of your hair length. This decision can come down to preference, as starting in the middle can give you a more relaxed wave, whilst starting higher will give you a full-body look.
After you have found your starting point, you should twist the straightener one full turn away from your face. This is the point where you should create your actual wave!
After the first twist, you can move your straightener down slightly, whilst keeping it clamped at all times. Then twist the straightener in the other direction for one full turn.
You can repeat this process until you get to the end of your hair length.
Repeat
After completing your first section, the only thing left is to repeat it several times until you’ve achieved the beach waves you’ve desired all along! No sea air or additional gadgets are needed.
Soft Waves
Preparing your hair
As we have mentioned before, it is incredibly important to maintain your hair when handling heat. Ensure that your hair has been washed, dried and treated with a heat protectant before attempting to curl your hair with a straightener.
Section your hair
Be sure to separate your hair into manageable sections before attempting soft waves. If you have thick hair, it might be worth separating your hair into top and bottom sections as well, but this is a decision you will be able to make at the time.
Curling your hair
Once your hair is sectioned to your liking, you can pick your preferred starting point, which can be around 2 inches wide if you prefer relaxed waves. Start at the roots and clamp gently.
Once clamped, twist the straightener away from your face whilst pulling it down the entire length of your hair. Ensure that you don’t twist the straightener tightly and maintain a slow, gentle curve.
Repeat
You can then repeat these steps on all sections of your hair to achieve that soft wave you’ve always wanted! To make it look even more relaxed, be sure to release the straightener before you reach the end of your hair, this leaves you with a straighter finish.

Classic Curl
Clean your hair
Before you style your hair, we would advise you to clean it. Some people say that slightly greasy hair can help with the curling process, especially when doing it at home, but this can sometimes make the curls slip out after curling.
Be sure to add heat protectant spray before any heat is applied to your hair.
Section your hair
The next thing you can do is section your hair into top and bottom sectors, ensuring that they are 1-inch wide. This will help you achieve a perfect curl. If you have thick hair, you might want to consider making your sections smaller.
Textured wave curling technique
You start this style by clamping the straightener at the top of your roots. Holding the iron vertically will create defined curls.
Once the straightener is positioned, you can begin twisting it away from your face. Turning the straightener 180 degrees should leave you with relaxed, classical waves, but if you want a more defined look, you should complete a full turn.
Whilst curling your hair, be sure to move the straightener from the root of your hair all the way to the bottom. The slower you move, the more defined the curl should be, so it might be worth experimenting if you have the time.
Once completed, be sure to let your hair cool down before making any changes with your fingers. This can help keep the curl in place, leaving you with the perfect look for longer.
Repeat
After you have completed that section, you can move on to the rest of your hair! Be sure to use your hands to separate each curl, and use a light-holding spray to keep them in for longer.
How to curl your hair with a straightener
1. Prepare your hair
When heat is applied to your hair consistently, it loses its ability to retain moisture. This can lead to brittle, stiffer hair that can be harder to work with.
Because of this, it is important that you prepare your hair correctly. This includes washing before styling and applying a heat protectant before adding heat.
2. Get the right hair straightener for you
As is with any hair products, it is important to find a hair straightener that works for you.
Ideal for styling, our Creativity Infrared Straightener comes with a large range of benefits that can help you style your hair with ease. Using Ceramic and Keratin technology, our straighteners leave you with shiny, silky and elastic hair with guaranteed protection.
With a professional 3M cord attached, we have crafted our straighteners with flexibility and convenience at the top of our list.
3. Apply products to minimise frizz
Like we mentioned in the styles section, do not forget to use hair-protecting products when applying heat to your hair. This can minimise unwanted frizz and frail hair, whilst also making it easier to style.
4. Separate your hair
After preparing your hair and finding the right straightener for you, you can then separate your hair into sections. The sections you will need to create will come down to the type of style you are going for, with some styles only needing sections of hair that are 1-inch wide, whilst others need more or less.
This can also change with how thick your hair is, so this part might come down to personal preference.
5. Begin curling
This is the tricky bit, you can now start to curl your hair! Whether you are going for a classic curl or beach waves, each different style will come with a different set of instructions or a specific guide.
To achieve the best results, be sure to follow the guide closely and take your hair length and thickness into consideration.
6. Style
After you have finished curling your hair, you might want to style it with your fingers. Wait for your hair to cool and make some small adjustments to your lovely curls. This could include separating each curl, or relaxing them.
After you are happy with your new look, you can then apply hairspray to ensure that your new style lasts the whole night!
Bellisima Italia’s range
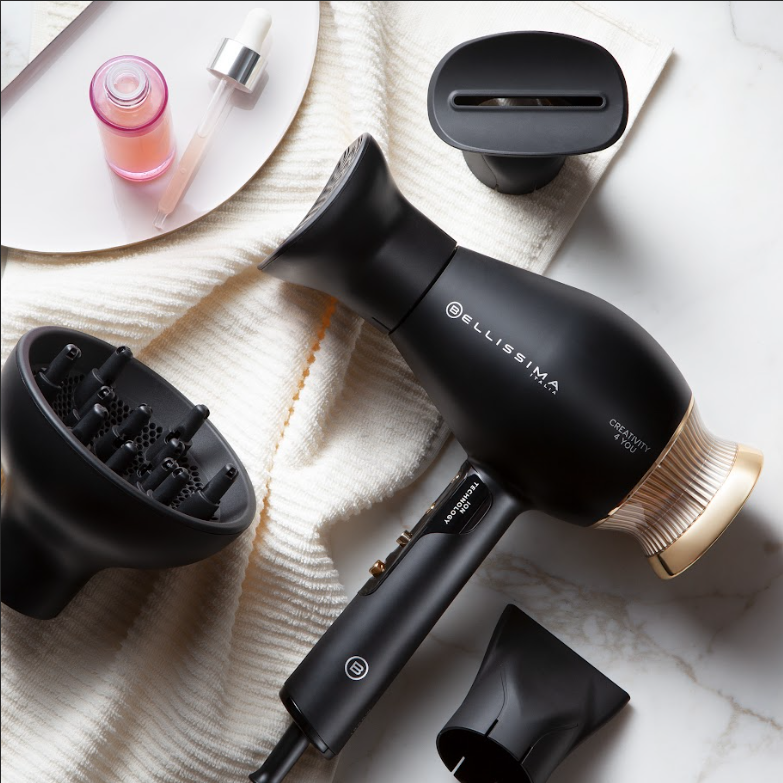
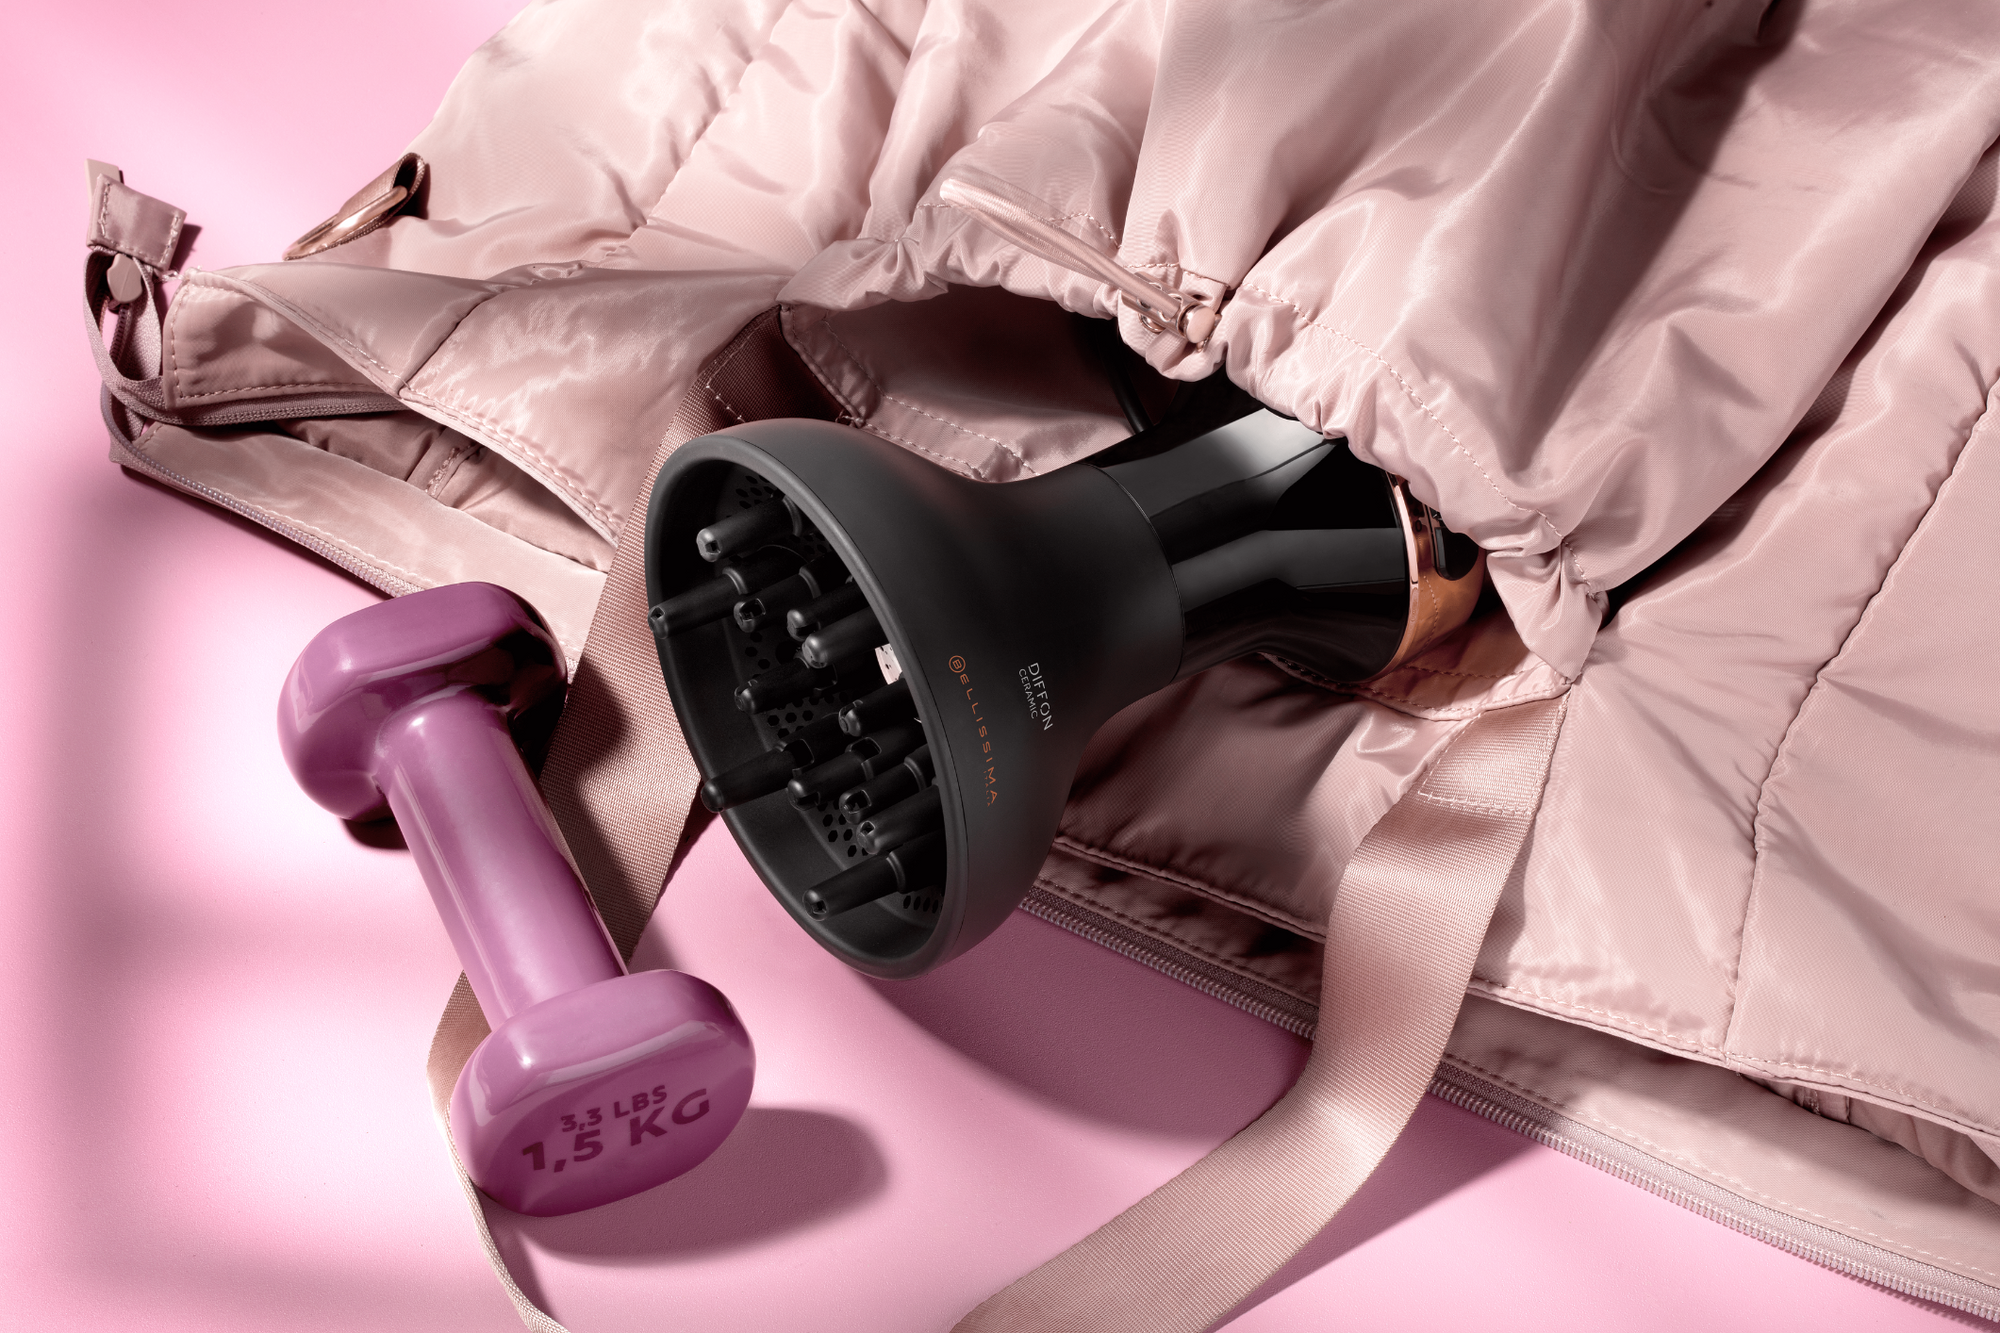
Make hairstyling easy with Bellisima Italia’s award-winning range of hairstyling tools. From hair dryers to diffon hair diffusers, the Bellissima Italia range has something for everyone.
Read more of our in-depth blogs today.


