Many of us have tried to recreate voluminous ‘fresh-from-the-salon’ hair at home. With the right products and some expert tips, you can give yourself a blowout that leaves you feeling a million dollars.
Don’t resign yourself to the fact that you can only have a bouncy blowout when you’ve been to the salon! Read on for tips on how to give yourself a blowout.
In this guide, we’ll provide step-by-step instructions on how to do a blowout and tips on products to use so you can achieve sleek, salon-quality volume.
Table of Contents
- What is a blowout?
- How to do a blowout at home
- Further tips on how to do a blowout
- How to blow out hair FAQs
What is a blowout?
A blowout is a voluminous and bouncy hairstyle that can be achieved with only a blow dryer and a hairbrush.
Whereas a blow dry only involves drying your hair, a blowout adds volume to leave you looking fresh from the salon.
The blowout style eliminates the need for using extra heat styling tools on your hair, such as straighteners.
How to do a blowout at home

Tools you will need to blow out hair
For creating a salon-quality blowout, you will need:
- Shampoo and conditioner to suit your hair type
- Hair turban or towel
- Heat protection spray
- Paddle hairbrush (for a straight blowout) or Round hairbrush for waves & curls (barrel brushes come in a range of sizes, with larger barrels allowing you to create soft waves)
- Wide-tooth comb
- Hair dryer
- Hair sectioning clips
- Hairspray or finishing spray
Step 1: Wash your hair
The preparation for a blowout begins from washing your hair. It’s important to choose good quality shampoo and conditioner that’s suited to your hair type. There are lots of options depending on your hair type - frizz, volume, thinner hair, dry hair, coloured hair, split ends. Check the labels before buying.
Step 2: Prepare hair for heat styling
Once you’ve showered, get rid of excess water by squeezing with a hair towel. Choose a super absorbent towel or microfibre hair turban, so not to damage the hair.
Hair should be damp, not dripping wet, for doing a blowout. This will reduce the time needed for styling, meaning your arms won’t get as tired and your hair will be exposed to less heat. Read our blog on how to repair heat-damaged hair.
Prolonged exposure to heat can cause frizzy hair too, so you won’t achieve the desired sleek blowout.
Always apply a heat protectant to prevent heat damage before styling.
Use a wide-tooth comb to detangle any knots before you start blow drying your hair. Be gentle and avoid pulling or tugging on knots, as this can cause breakage.
Step 3: Rough blow dry
Now your hair is heat protected and tangle-free, you can grab your blow dryer and begin to roughly blow dry your hair. The aim here is to have your hair 70 to 80% dry. Having your hair still slightly damp will help to set the finished blowout and create a longer-lasting look.
You don’t need your hairbrush just yet. Simply use your fingers to tousle hair as you dry.
For extra volume, you can blow dry your hair upside down.
Step 4: Section your hair into clips
Using your sectioning clips, divide your hair into two halves and clip one half up. The clips will help to keep the hair you’re not working on out of the way.
Work on smaller sections at a time to achieve a better blowout, moving clips as required.
Step 5: Blow out your hair

Next, you’ll want to grab your hairbrush. Choose a hairbrush based on the desired look you want.
A round barrel hairbrush is easy to style with. A larger barrel brush will give you soft waves, whereas a smaller barrel will give you tighter curls. If you want a straight blowout, go for a paddle brush.
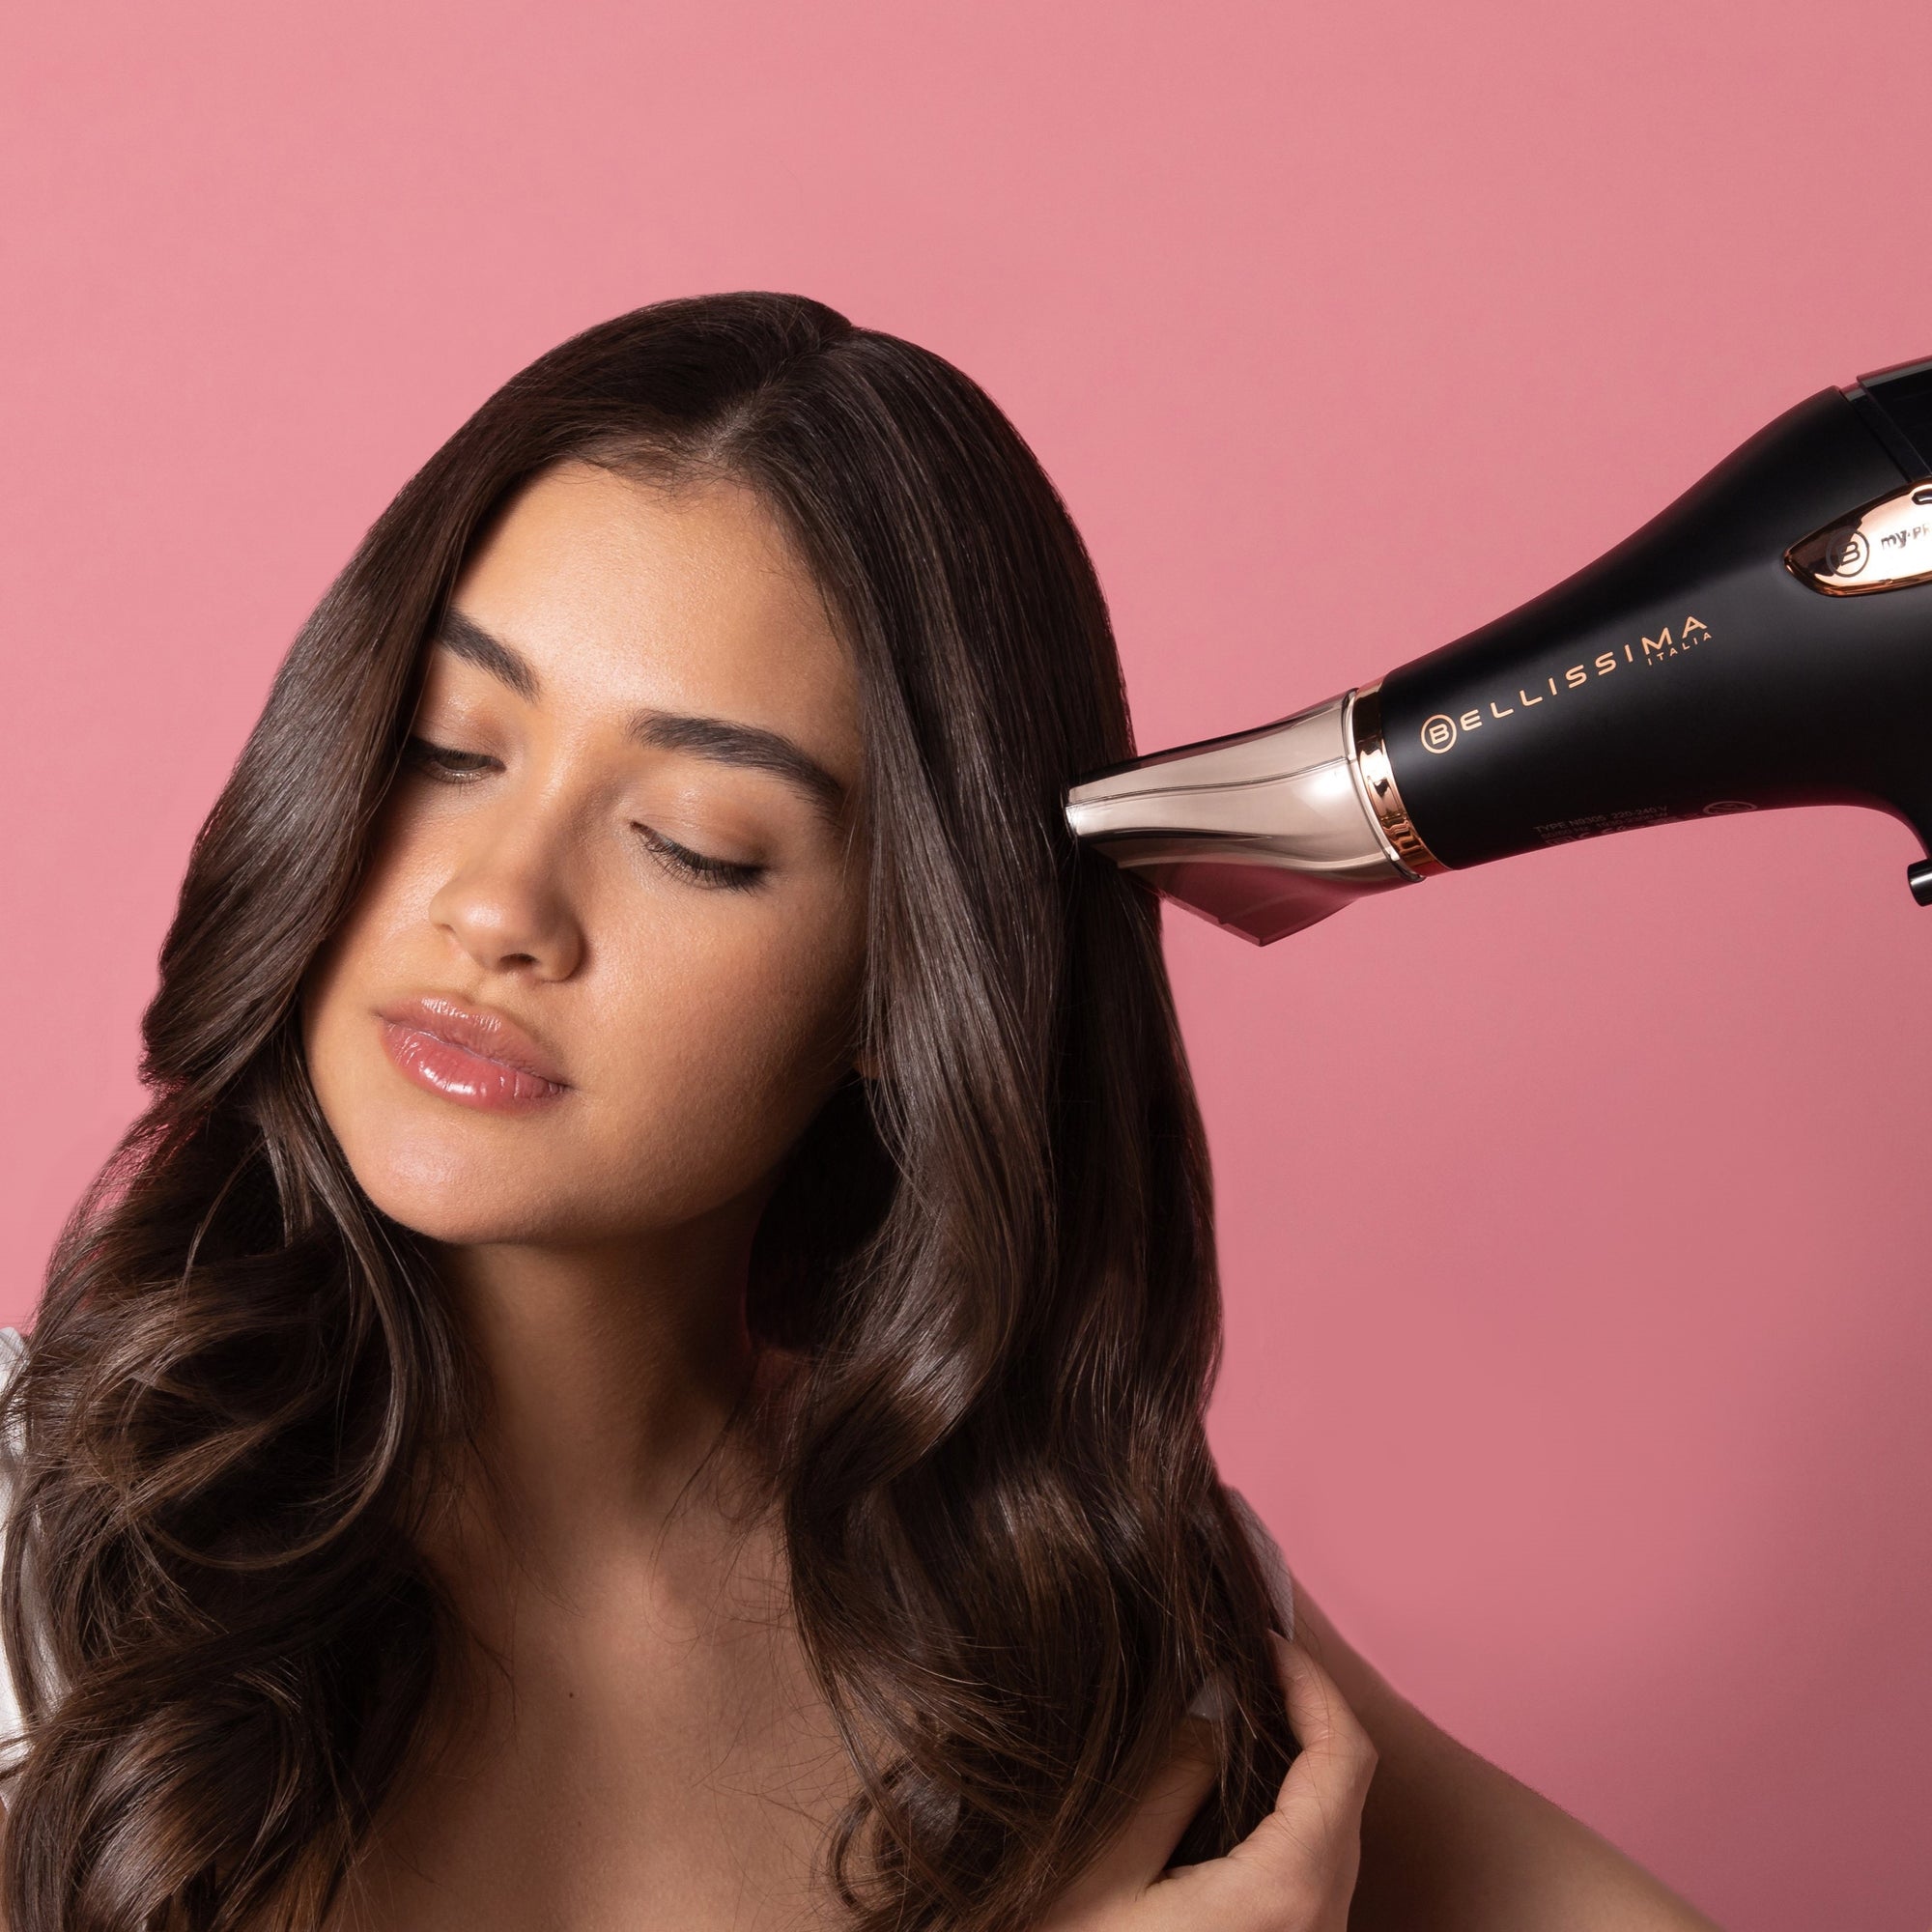
The key to giving yourself a perfect blowout is to work slowly and be patient. Start with the first sections of hair and brush from roots to ends, following the path of the brush with the hair dryer. Always point the blow dryer downwards to avoid frizz.
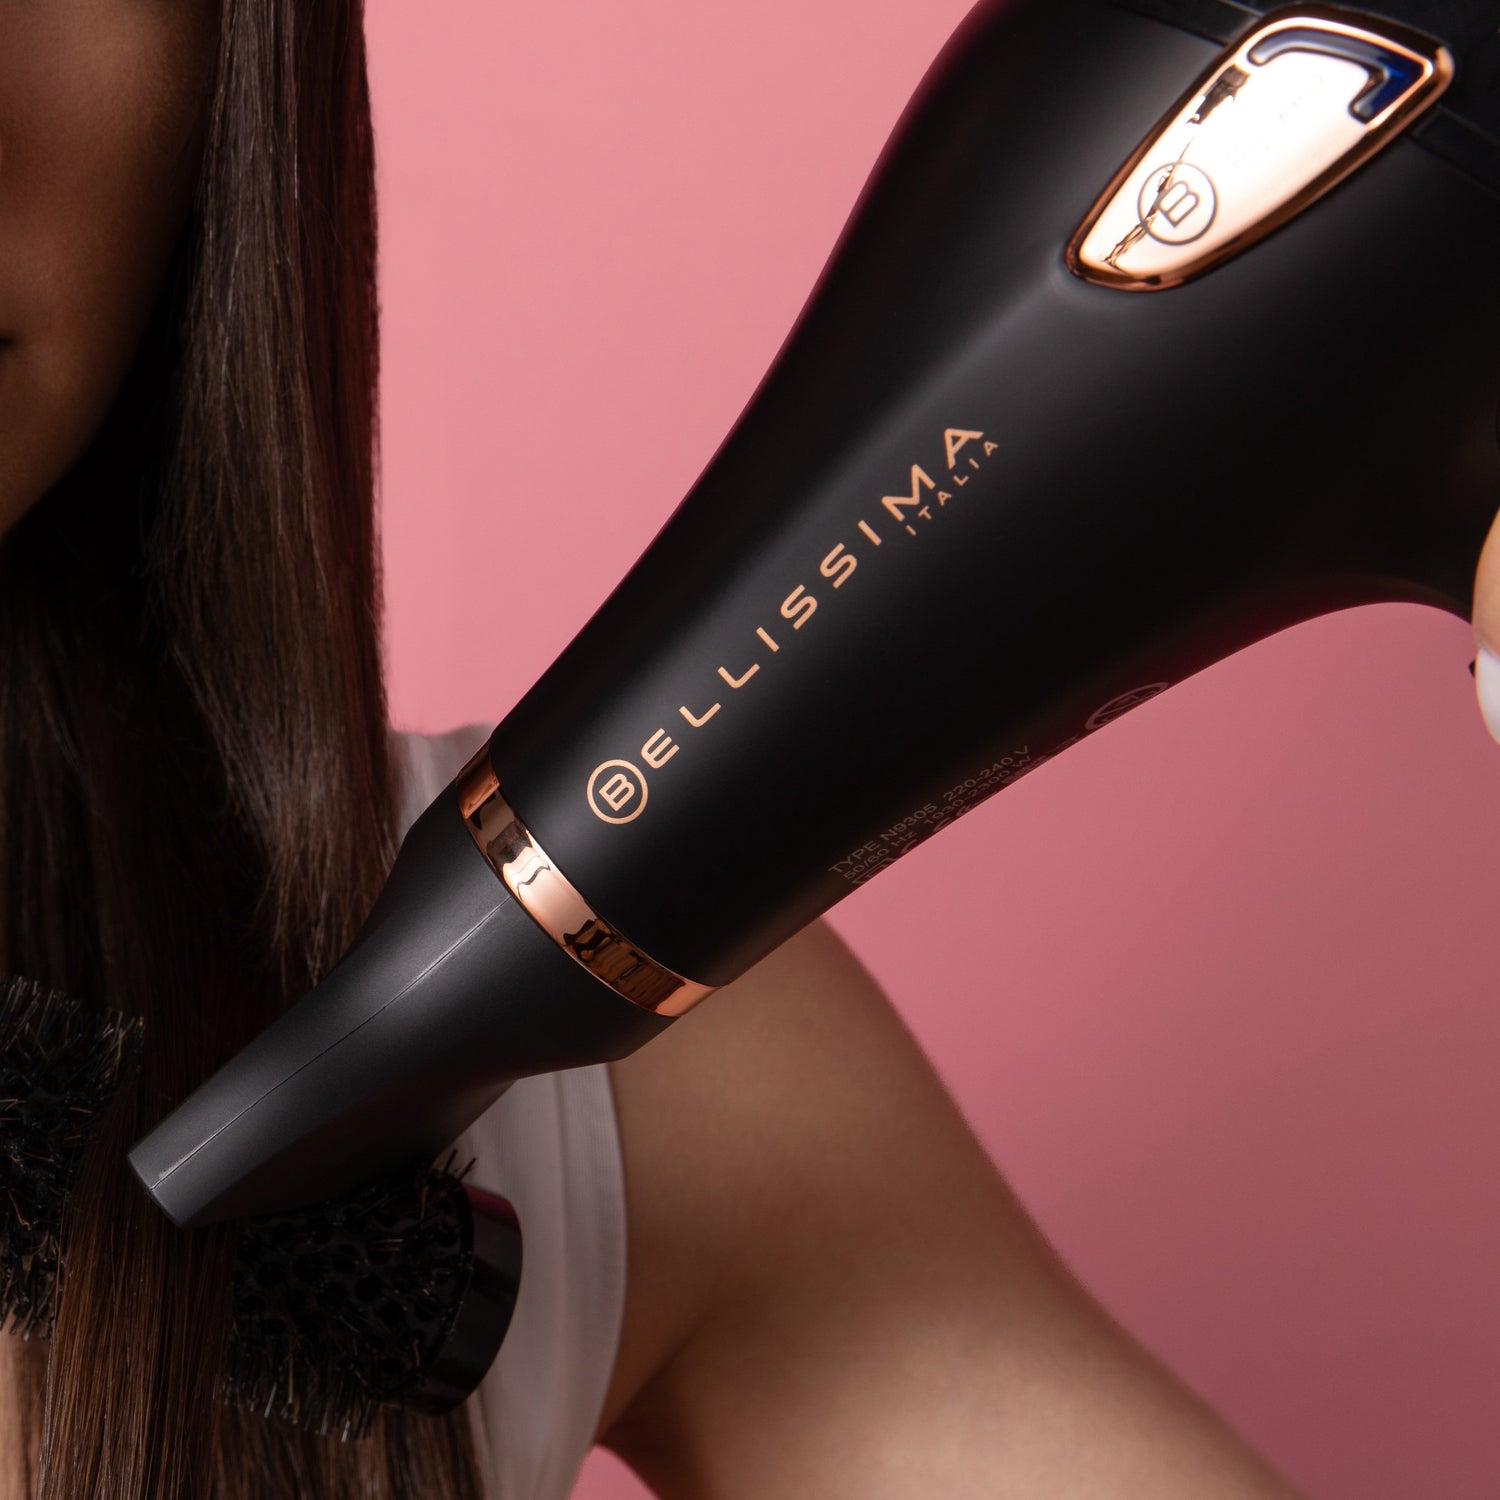
Using the concentrator nozzle on the hair dryer means the hot air is directed exactly where you want it to go. This helps to achieve a professional blowout. The nozzle is particularly handy for concentrating on hard to reach strands.
- All of our hair dryers come with concentrator nozzles for styling. Choose from the B-Travel Hair Dryer, Creativity 4 You Hair Dryer Set, or Ceramic Hair Dryer.
If you’re wanting a sleek, straight blowout, simply follow the path of your paddle brush with the blow dryer. For a blowout with soft curls, use a round brush and then twist hair around the brush a few inches above the ends. Hold the hair dryer over the curl for a couple of seconds to set it in place.
Repeat the blowout process for the rest of your hair until the style is complete.
Top tip: Although it may be tempting to speed up the process, use a lower heat setting to minimise damage to your hair. This will help to create a better quality blowout and less damage means stronger, healthier hair. Patience is the key!
Step 6: Finish with hairspray or finishing cream
To hold your blowout in place for longer, finish with a spritz of hairspray. If you don’t like the feel of hairspray, choose one without a sticky residue. Alternatively, you can opt for a finishing cream to lock your blowout in place.
Further tips on how to do a blowout
- Not sure what products are best for your hair type? It may be trial and error to find the right products for your hair, but it will make all the difference
- Always use heat protection sprays before any form of heat styling to protect your hair from damage
- Point the blow dryer downwards to minimise frizz
- Use the hair dryer with concentrator nozzle attached for a better finish (the Bellissima Creativity comes with different accessories, to help you style the hair easily even if you’re a beginner)
- Tip your head upside down when drying to create a bouncier blowout
- Use shine serum for an added glossy look. Apply a small amount of this from the ends of your hair working upwards to avoid adding extra oils to your scalp
- Experiment with your blowout. Use different sized barrel brushes for looser or tighter curls. A paddle brush is ideal for a straighter, sleeker blowout. For 1970s chic, curl hair around the brush facing outwards
- Tame flyaway hairs around your face with a styling cream
- If you notice your hair is looking dry or damaged from too much heat, don't style it every day with heat. Use a leave-in repair treatment. Read our blog for further tips on treating heat-damaged hair
See our range of hair dryers perfect for creating a professional blowout hairstyle at home.
How to blow out hair FAQs
What are the three types of blowout?
You can have three different looks with a blowout: straight, wavy or curly. The principles behind the blowout technique are the same.
You can use a paddle hairbrush for a straighter, sleeker style.
A round barrel brush will help you achieve a wavy or curly blowout. Choose a smaller barrel brush for tighter curls, or for loose waves, opt for a larger barrel brush.
How long does a blowout last?
How long a blowout lasts will depend on several factors including your hair type, weather and other external factors.
You may find naturally curly hair not lasting as long in the blowout style, due to it reverting to its natural curl.
Use dry shampoo and other products to prolong your blowout.
Is a blowout bad for your hair?
As with any heat styler, prolonged use can lead to damaged and weaker hair. However, blowouts are a great way of styling hair without using other heat appliances such as straighteners.
It’s vital to use heat protectants before using any hair heat styler.
If you notice damage to your hair, minimise the days you heat style your hair. Use leave-in treatments to improve the overall health of your hair.
What not to do in a blowout?
Some things not to do in a hair blowout include:
- Trying to do a blowout with dripping wet hair
- Not applying a heat protectant
- Blow drying hair upwards (this creates frizz)
- Not moving the hair dryer around. Both hair and scalp can be burned
- Applying heavy products prior to drying. This can make hair look limp and greasy
- Using the wrong tools for the job. Choose your hairbrush and hair dryer wisely before you start the blowout


